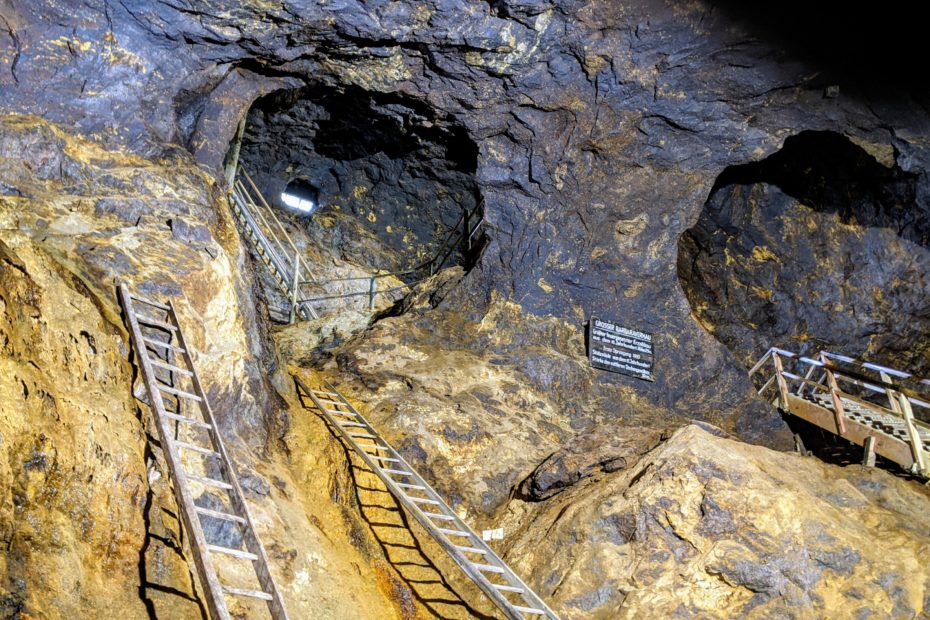
Silberbergwerk Bodenmais
Schlechtwetter Programm in Bodenmais: Das stillgelegte Bergwerk im Silberberg
Schlechtwetter Programm in Bodenmais: Das stillgelegte Bergwerk im Silberberg
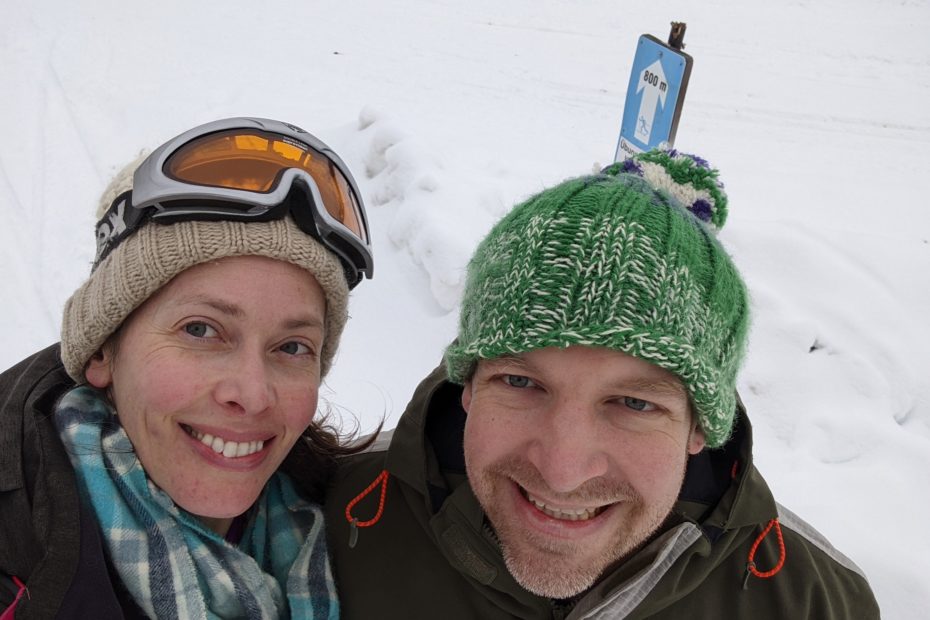
Wir leihen uns Skating Langlaufski und probieren das erste Mal unser Glück im Kurpark auf der Übungsloipe.

Mit dem ersten Schnee packen wir die Tourenskier wieder aus und stapfen durch einen halben Meter Neuschnee auf den Geisskopf.

An einem warmen Vorwintertag fahren wir an den großen Arbersee.
Hier gibt es einen großen Parkplatz der trotz des nahenden Winters noch reichlich mit Wanderern gefüllt ist.
Wir laufen vorbei am Arberseehaus, über die kleine Brücke im Uhrzeigersinn um den See herum.
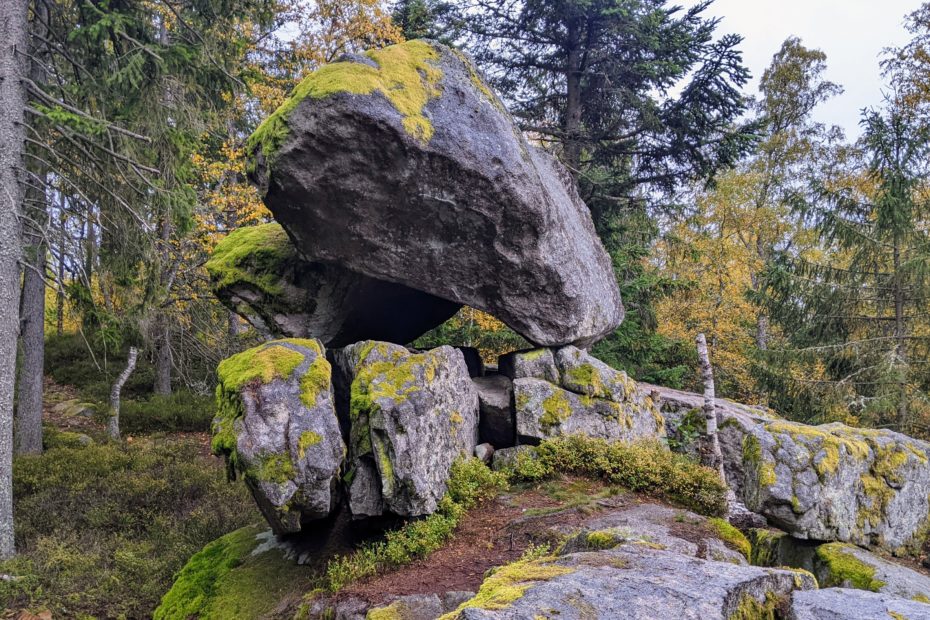
Auf einem kleinen Abendspaziergang entdecken wir den Bornstein. Die Felsformationen liegt auf dem sogenannten „Pfahl“, der von Cham aus und bis über die Burg Weißenstein hinaus verläuft.
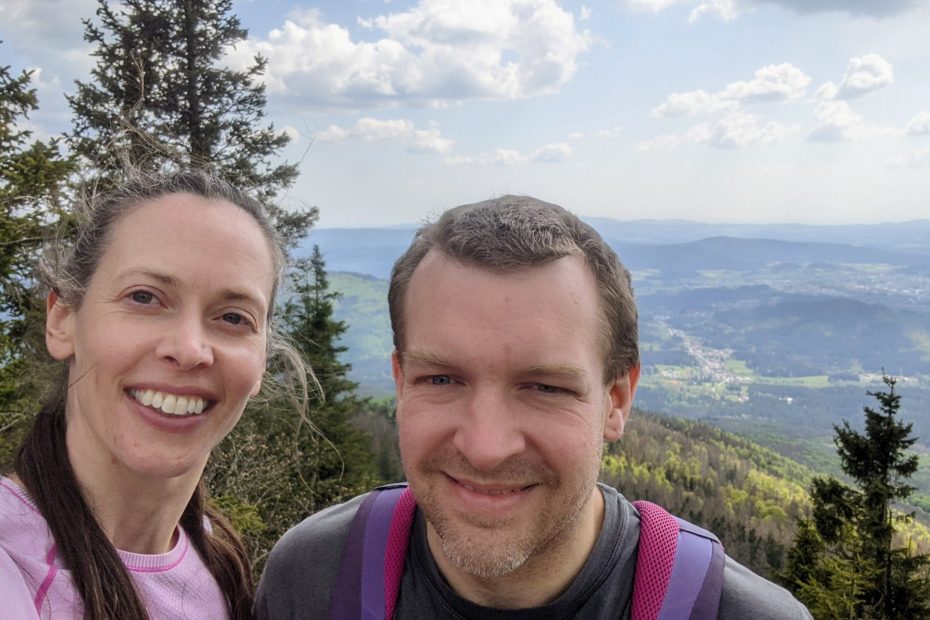
Ein warmer Hauch des Spätsommers kehrte zurück in den Bayrischen Wald und verwandelte ein gewöhnliches Oktoberwochenende in ein unvergessliches Abenteuer. Die Natur, die Farben und die unbeschreibliche Schönheit dieser Region luden uns ein, die Wanderstiefel zu schnüren und uns auf den Weg ins „Bayerische Kanada“ zu machen.
Die Hitze des August treibt uns in den Berg: von Bodenmais entlang des Riesbaches geht es zu Fuß zu den Rißlochfällen.
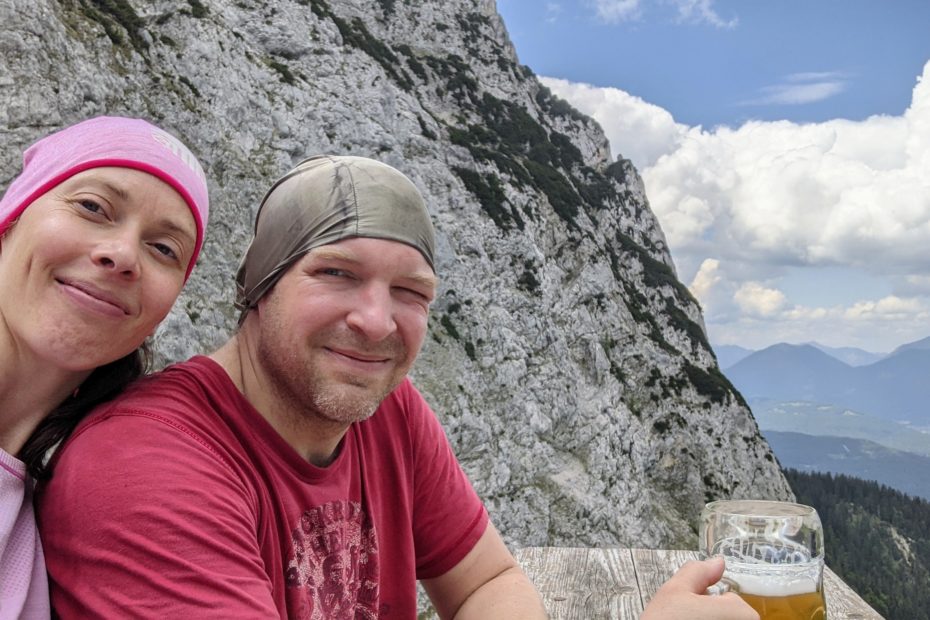
Auf der heutigen Tour im Juni begegnen uns sogar zwei Skifahrer. Wir starten an der Talstation Karwendelbahn in Mittenwald und gehen in Richtung Ochsenbodensteig/ Dammkarhütte in den Berg rein.
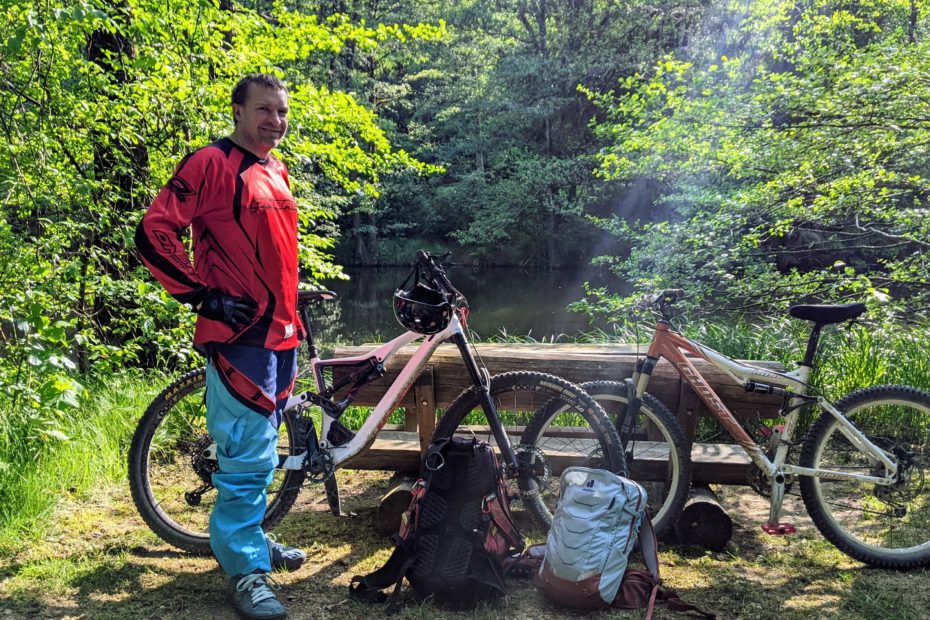
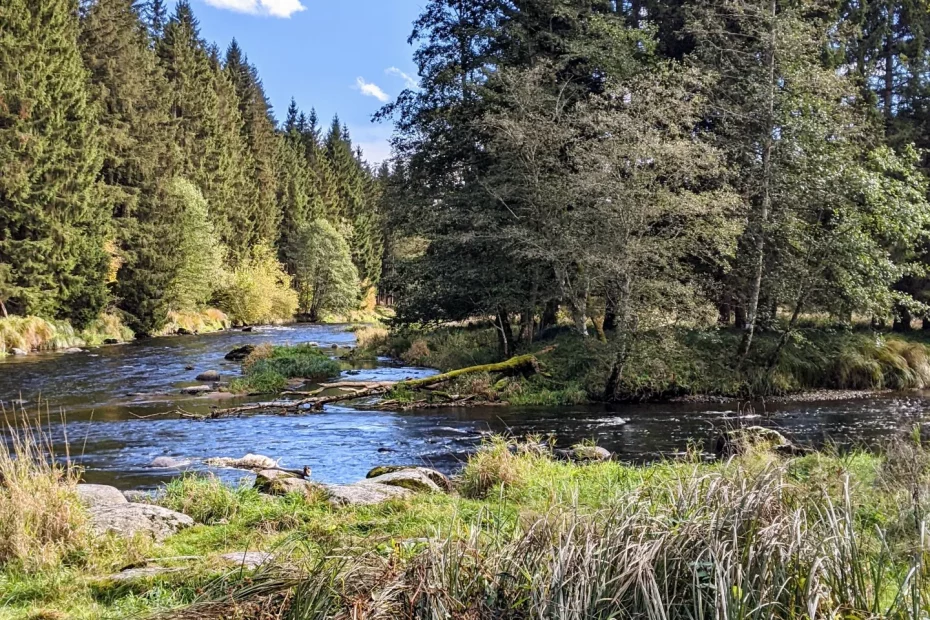
Die Region um Burg Weißenstein und den Regensee bietet eine atemberaubende Kulisse für Outdoor-Enthusiasten. Eine Radtour entlang des malerischen Regenflusses ist ein unvergessliches Erlebnis, das Natur, Geschichte und aktive Erholung vereint.
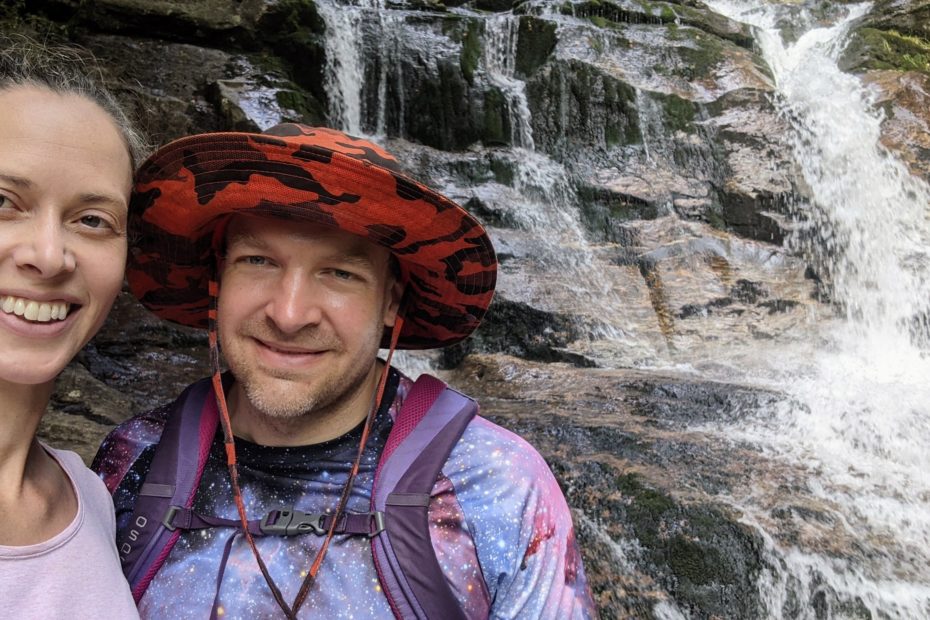
Die Höllbachgspreng öffnete sich vor uns wie ein verborgenes Paradies. Das Rauschen des Höllbachs begleitete uns auf Schritt und Tritt, während wir uns durch die Schlucht kämpften. Die majestätischen Wasserfälle, die sich den Weg hinunterstürzten, faszinierten uns mit ihrer natürlichen Schönheit. Das Spiel aus Licht und Schatten, das durch das dichte Blätterdach fiel, verlieh der Szenerie einen märchenhaften Charme.